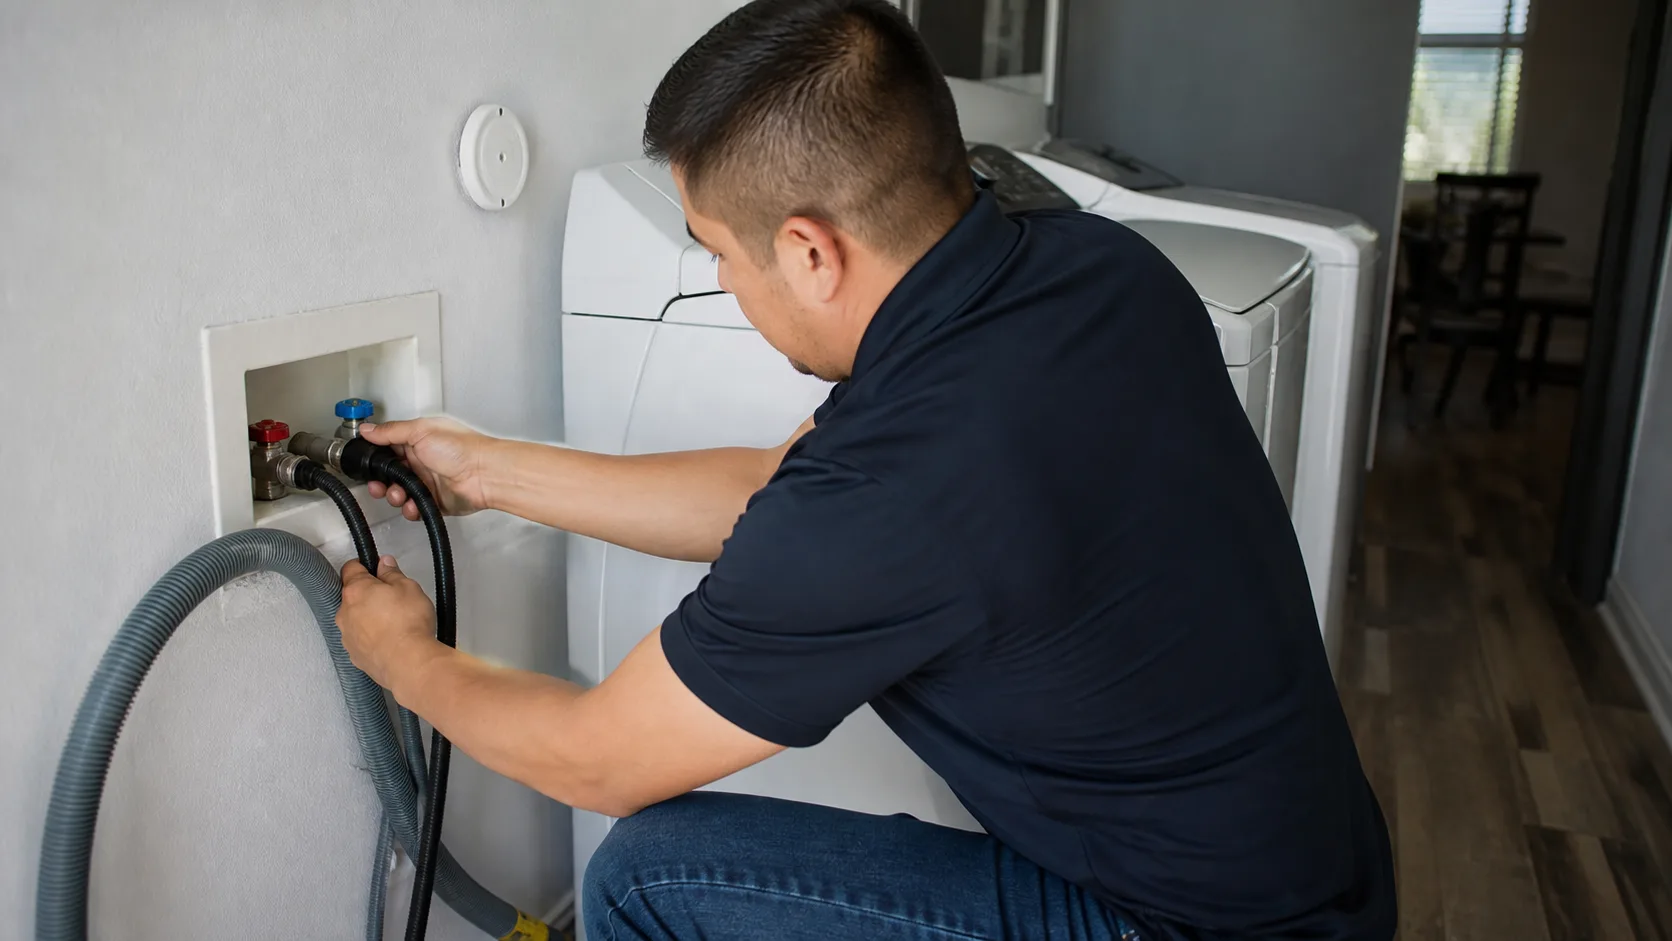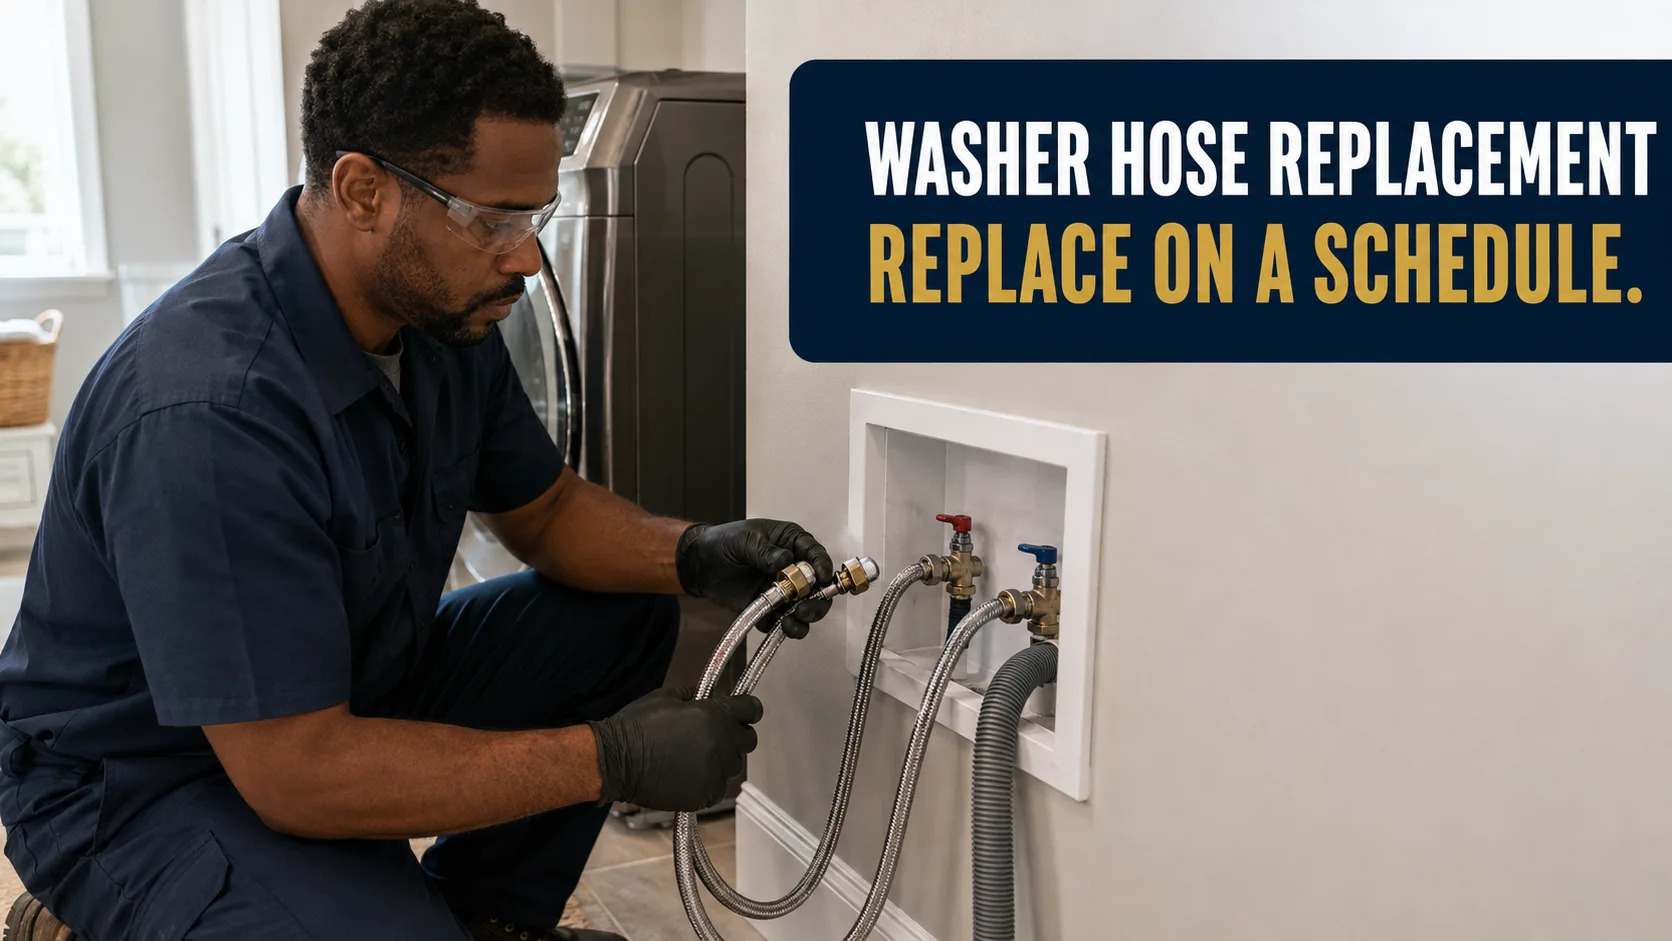
Replace washing machine supply hoses every 5 years — or at their warranty expiry, whichever comes first — with braided stainless steel lines carrying the longest warranty on the shelf. Write the install date on the hose with a paint marker, exercise the shut-off valves twice a year, and close them before trips. This page exists because hoses fail from the inside: the day one bursts, it looks exactly like it did the day it was fine.
Why you can’t inspect your way out of this one
Most prevention on this site is inspection-based: look, touch, catch it early. Washer hoses break that model. The rubber liner degrades from the inside — heat, chlorinated water, and constant pressure make it brittle where you cannot see it. The outside jacket often looks factory-fresh right up to the failure.
And the failure is not a drip. A washer hose carries full household pressure around the clock, so when the liner lets go, you get an open line at hundreds of gallons per hour — the most violent leak a house can produce, frequently discovered hours later.
That combination — no warning, maximum consequence — is why this is a calendar item, the same category as smoke detector batteries.
The schedule
| Item | Interval |
|---|---|
| Replace supply hoses (both) | Every 5 years, or at hose warranty expiry if sooner |
| Exercise shut-off valves | Twice a year (tie it to the time change) |
| Visual check of hoses & fittings | Twice a year, same walkthrough |
| Close valves | Before any trip longer than a weekend |
| Check/empty drip pan, test water alarm | Twice a year |
The warranty-window logic: a hose warrantied for 4 years is a hose its own manufacturer will not stand behind in year 5. Running it to year 8 means self-insuring the second half of its life — at full line pressure, against your laundry room, hallway, and everything downstream. The full principle: appliance connector warranty windows.
What a pair of hoses costs against what the laundry room costs
A pair of braided stainless hoses runs roughly $20 to $50. A floor or pan water alarm is about $15. Lever-style replacement valves, if a plumber fits them while he is there, generally add a couple of hundred dollars. Call the whole upgrade $50 on your own or a few hundred done properly — once every five years.
The failure side is not comparable. A washer hose carries full household pressure around the clock and releases hundreds of gallons an hour when the liner lets go, usually with nobody home. Mitigation on a ground-floor laundry that ran for a few hours — extraction, drying the laundry, the hallway and whatever the water traveled under — commonly lands in the mid four figures before any rebuild. The same failure above a ceiling is a five-figure loss, because the water goes through insulation, drywall and the room below on its way to the slab.
Five years of protection for the price of a restaurant dinner is the cleanest trade in home maintenance.
Buying the right hoses
- Braided stainless steel, full stop. The braid contains liner failures that burst bare rubber.
- Sort by warranty, longest first. Warranty length is the one honest quality signal on the package.
- Metal coupling nuts over plastic where offered.
- Correct length without stretching — and without a tight kink behind the machine; a hose forced into a hard bend fails at the bend.
- While you’re in the aisle: a $15 water alarm for the floor or pan, and lever-style replacement valves if yours are stiff.
The ten-minute swap
- Close both valves. Run the washer’s fill for a few seconds to relieve pressure.
- Towel down, bucket under the connections; unscrew hoses at both ends (residual water will come out).
- Screw on the new hoses — hand-tight plus a snug quarter turn with pliers. The rubber washers do the sealing; cranking cracks fittings.
- Hot to hot, cold to cold (hoses are usually color-tagged).
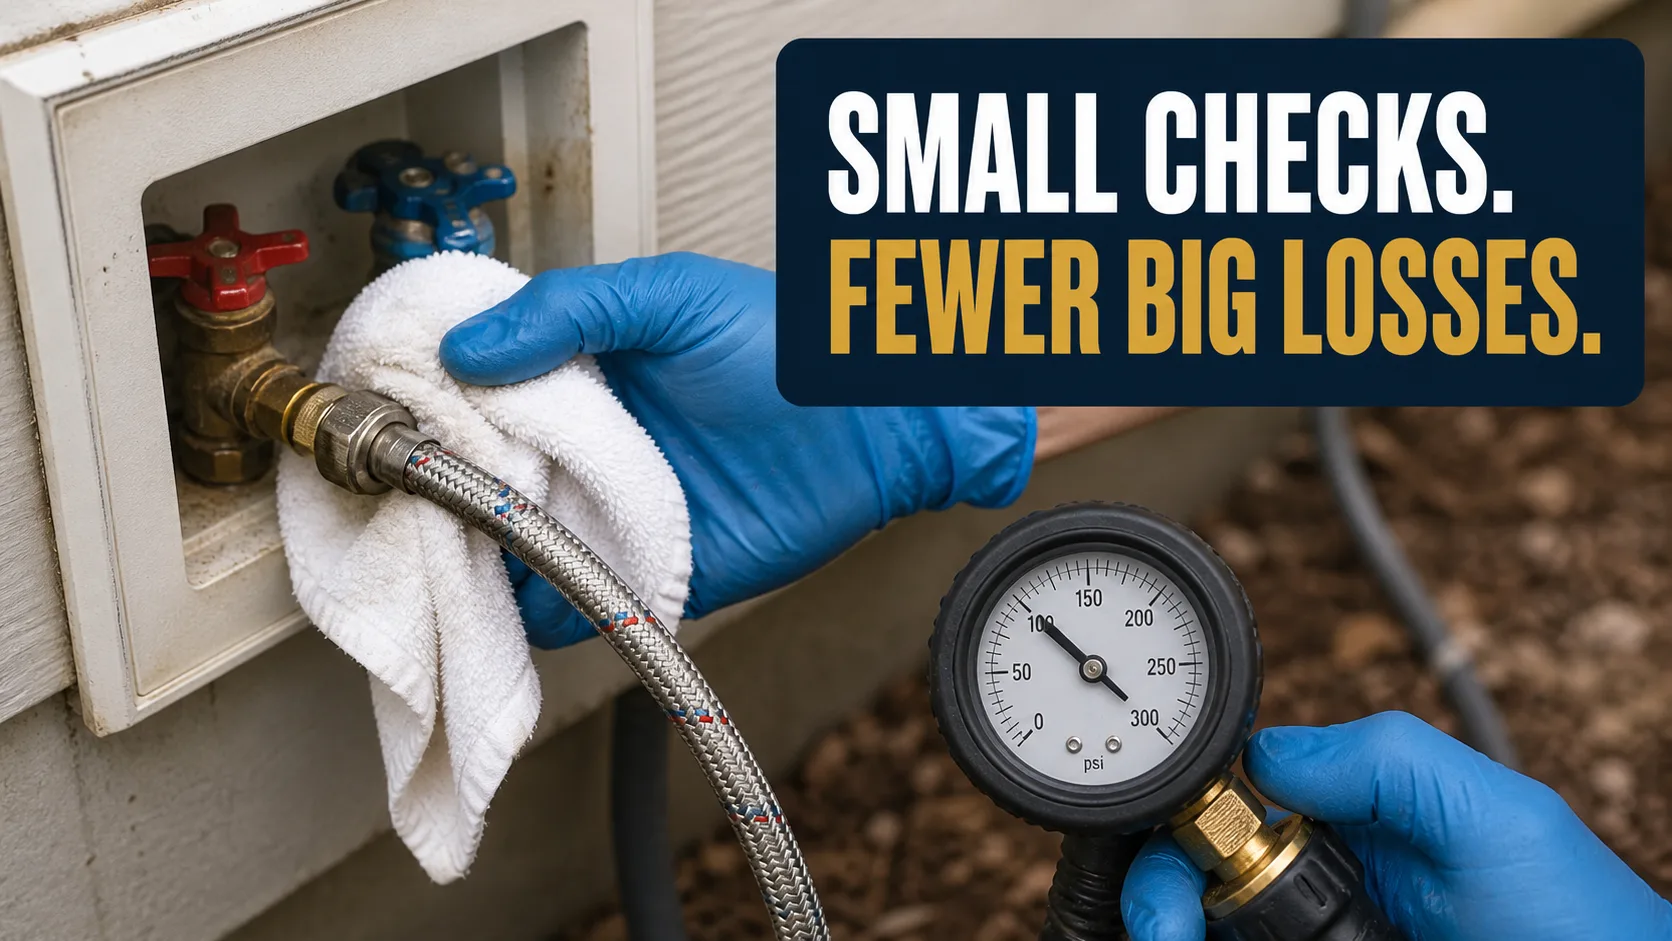
- Open the valves, run a rinse cycle, and check both ends with a dry finger during fill.
- Paint-marker the date on each hose. Future-you, or the next owner, will know exactly where the clock stands.
If the old hoses are seized to the valves or the valves themselves weep when operated — stop and have a plumber replace the valves too. A valve that will not close is a failure that has not been billed yet.
While the machines are pulled out: the dryer vent
The washer is not the only appliance in that closet that fails expensively. The dryer beside it is the one that starts fires, and the cause is almost always the same — lint.
Lint packs the flexible transition behind the machine and then the duct run to the exterior, airflow drops, the dryer runs hotter and longer, and eventually the accumulated lint finds an ignition source. Since the machines are already out for the hose swap, do the whole thing in the same twenty minutes:
- Disconnect the transition duct behind the dryer and clear it. If it is foil or vinyl, replace it with rigid or semi-rigid metal — flexible foil traps lint in every ridge and it is not rated for the job.
- Run a duct brush the full length of the exterior run, from both ends if you can reach them.
- Go outside and check the hood. The flap should open when the dryer runs and close when it stops. A hood packed with lint or blocked by a bird nest is a blocked duct with a good excuse.
- Clear the lint trap housing, not just the screen — a vacuum crevice tool down the slot pulls out what the screen misses.
- Never vent a dryer into the attic, the crawl space or the garage. It has to terminate outside, and a gas dryer must never be vented indoors at all.
The tell that you are overdue: a load that needs two cycles, a dryer hot to the touch on the outside, or a laundry room that gets humid when the machine runs. Anything involving the gas line to a gas dryer stops there and goes to a licensed plumber. If it has already burned, what to do after a house fire is the next page, and fire damage restoration cost is the one after it.
Upstairs laundry rooms: raise the standard
Second-floor laundry puts every one of these failure modes directly above your living space. For those homes, the full kit is justified: braided hoses on schedule, a drained drip pan under the machine, a water alarm in the pan, and — the gold standard — an auto-shutoff valve system that closes the lines when its sensor gets wet. Each layer is cheap next to what the loss looks like when it happens over a ceiling.
The laundry-room calendar
Houston gives this one an easy rhythm, and it hangs off dates you already keep.
- March and November, at the time change: exercise both valves, look at both hoses, check the pan and test the water alarm. Same weekend as the smoke alarm dates.
- April, before the heat: if the hoses are in a garage or an unconditioned utility room, this is the replacement month. Attic and garage spaces here run 120 to 140°F through August, and rubber ages on heat — work off the short end of the warranty window.
- Before any trip longer than a weekend: close both valves. A hose that fails while the house is empty runs for days.
- December, before a freeze: a garage laundry sits in the coldest room in the house. The freeze checklist covers what else needs doing out there.
Hard water is the other local factor. Much of the Greater Houston supply is mineral-heavy, and scale builds inside fittings and valve seats until a stop seizes. That is why the twice-yearly valve exercise is on the list at all.
What your carrier does with a hose failure
A hose that bursts is a sudden and accidental discharge, and that is generally covered. A hose that weeps behind the machine for six months is gradual damage, which is excluded on almost every homeowners form in Texas. The distinction is not about the part; it is about how long the water ran.
Two things protect you. First, dated, receipted replacements are the record that answers a deferred-maintenance argument before it starts. Second, keep the failed hose. If the part let go inside its warranty, your carrier can pursue the manufacturer, and when they recover, your deductible can come back with them — the mechanism is in subrogation, explained.
Photograph the failed hose, the valves, and the water line on the wall before anything is cleaned up. The broader picture is in does insurance cover water damage.
If a hose has already burst
That is the other page: washer connector leak — emergency steps. Short version: valves off (or main), extract fast, keep the failed hose as evidence, and meter the rooms around the laundry — high-volume releases travel under walls, and in Houston humidity what they wet stays wet. (346) 271-7004.
Where we fit, and where we don’t
TruePoint Restoration does not replace hoses, valves or appliances. We are not plumbers and we do not service washers and dryers — a seized shutoff valve, a leaking stop, or anything touching a gas dryer connection goes to a licensed plumber, and the machine itself goes to an appliance technician.
What we handle is what the failure put into the structure: extraction, structural drying with logged daily moisture readings, mold remediation when the water sat, and smoke and soot cleanup when the dryer rather than the washer was the problem. We work out of Pearland and cover Manvel, Friendswood, League City, Pasadena and the Greater Houston area.