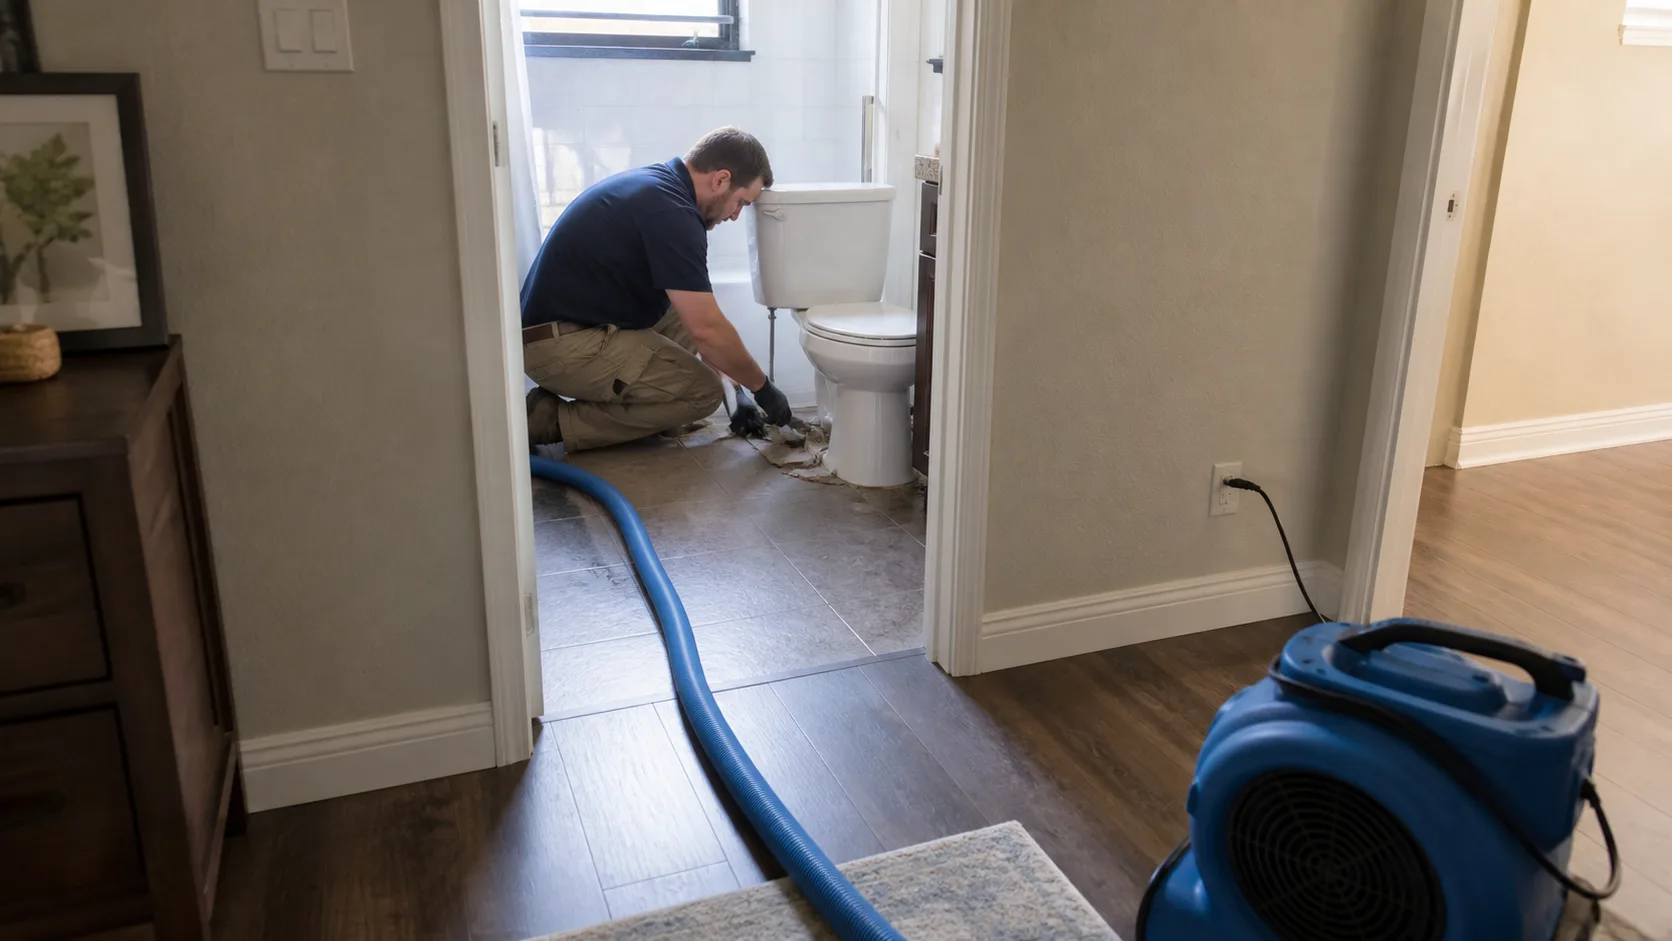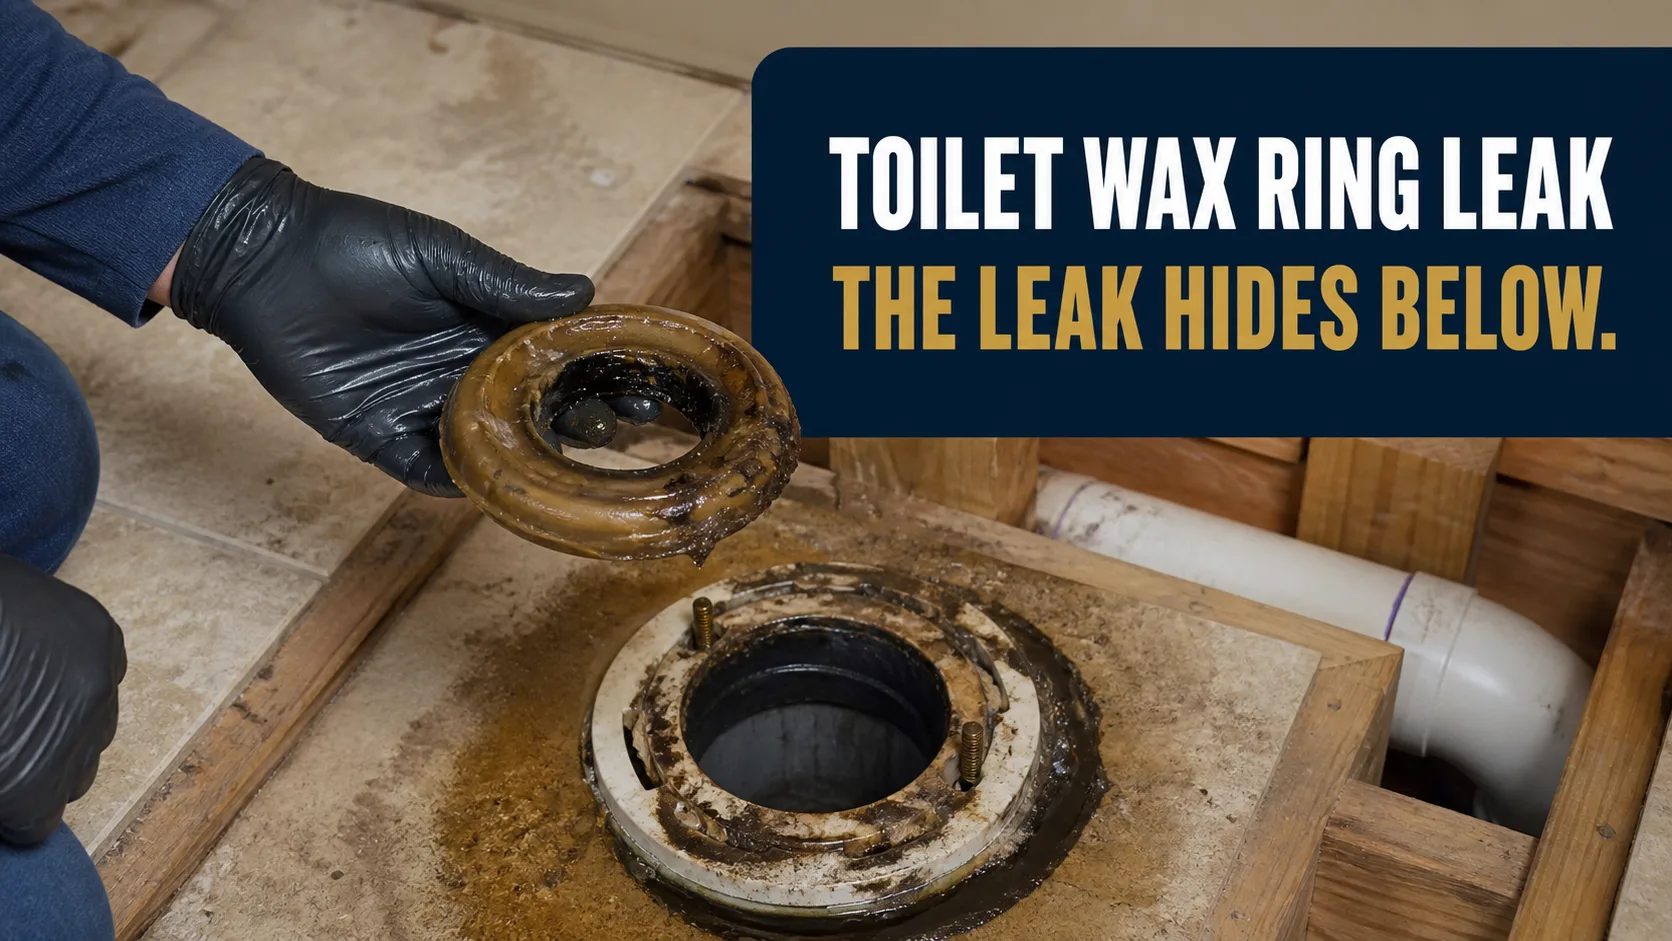
Stop using that toilet — every flush sends water past the failed seal into your floor, and that water is on its way into the sewer line, so treat it as contaminated. Shut the supply valve, photograph the base and any staining, and have the toilet pulled and reset with a new ring. The critical step everyone skips: while the toilet is up, the flooring and subfloor around the flange get inspected and metered — that is where months of per-flush seepage went.
What the wax ring does
Under every toilet, a ring of wax (or a modern rubber equivalent) compresses between the toilet’s outlet and the drain flange in the floor. It is the only thing sealing the joint between your toilet and the sewer line. No pressure, no moving parts — just a wax gasket doing quiet duty for years.
Until the toilet moves. Wax seals by compression and cannot re-form once worked loose: a toilet that rocks even slightly is grinding its own seal apart. That is why the wax ring page is really a page about loose toilets.
The first signs
- Water appearing around the base during or after flushes
- Sewer smell near the toilet — the failed seal also lets gas past
- Flooring around the bowl discoloring, lifting, or going soft
- The toilet rocks or swivels when you shift on it
- Upstairs bathroom: a ceiling stain directly below the toilet
- The subtle one: grout or caulk around the base darkening and never fully drying
What to do right now
- Retire the toilet. Supply valve off (clockwise, behind the bowl), lid down, household informed. Every additional flush feeds the floor.
- Photograph the base, the staining, the ceiling below if any — dated, before cleanup.
- Judge the water correctly. Flush water passing the ring is headed for the sewer: it is contaminated. Bleach-wipe hard surfaces it reached; anything porous it soaked (bath mat, flooring edges) is a contaminated-water question, not a paper-towel question.
- Pull and reset — DIY if you are comfortable lifting and re-seating a toilet, otherwise a plumber. New ring, new mounting bolts, and fix whatever let it rock: shim the base, snug the bolts (gently — porcelain cracks), replace a damaged flange.
- Inspect the floor while it’s open. This is the moment. See below.
Confirm it is the ring, tonight
Three different failures put water on the floor around a toilet, and three different repairs fix them. Twenty minutes sorts it.
- Dry the base and the floor around it, then leave the bathroom alone for two hours without flushing. Water that returns with nobody using the toilet is not the ring — it is tank condensation or a supply line or fitting above.
- Lay dry paper towels in a ring around the base, tight to the porcelain, and flush once.
- Read them ten minutes later. Wet only after a flush, and wettest at the back or one side, is the seal.
- Rock the bowl gently with both hands. Any movement at all is the cause, not a coincidence.
- Put a few drops of food coloring in the tank and flush. Tinted water at the base means it came through the fixture rather than off it.
- Photograph all of it with the date stamp on — the base, the towels, the ceiling below. Ring failures are gradual by nature, so the discovery date and how fast you moved is most of the claim.
The once-per-decade look under the toilet
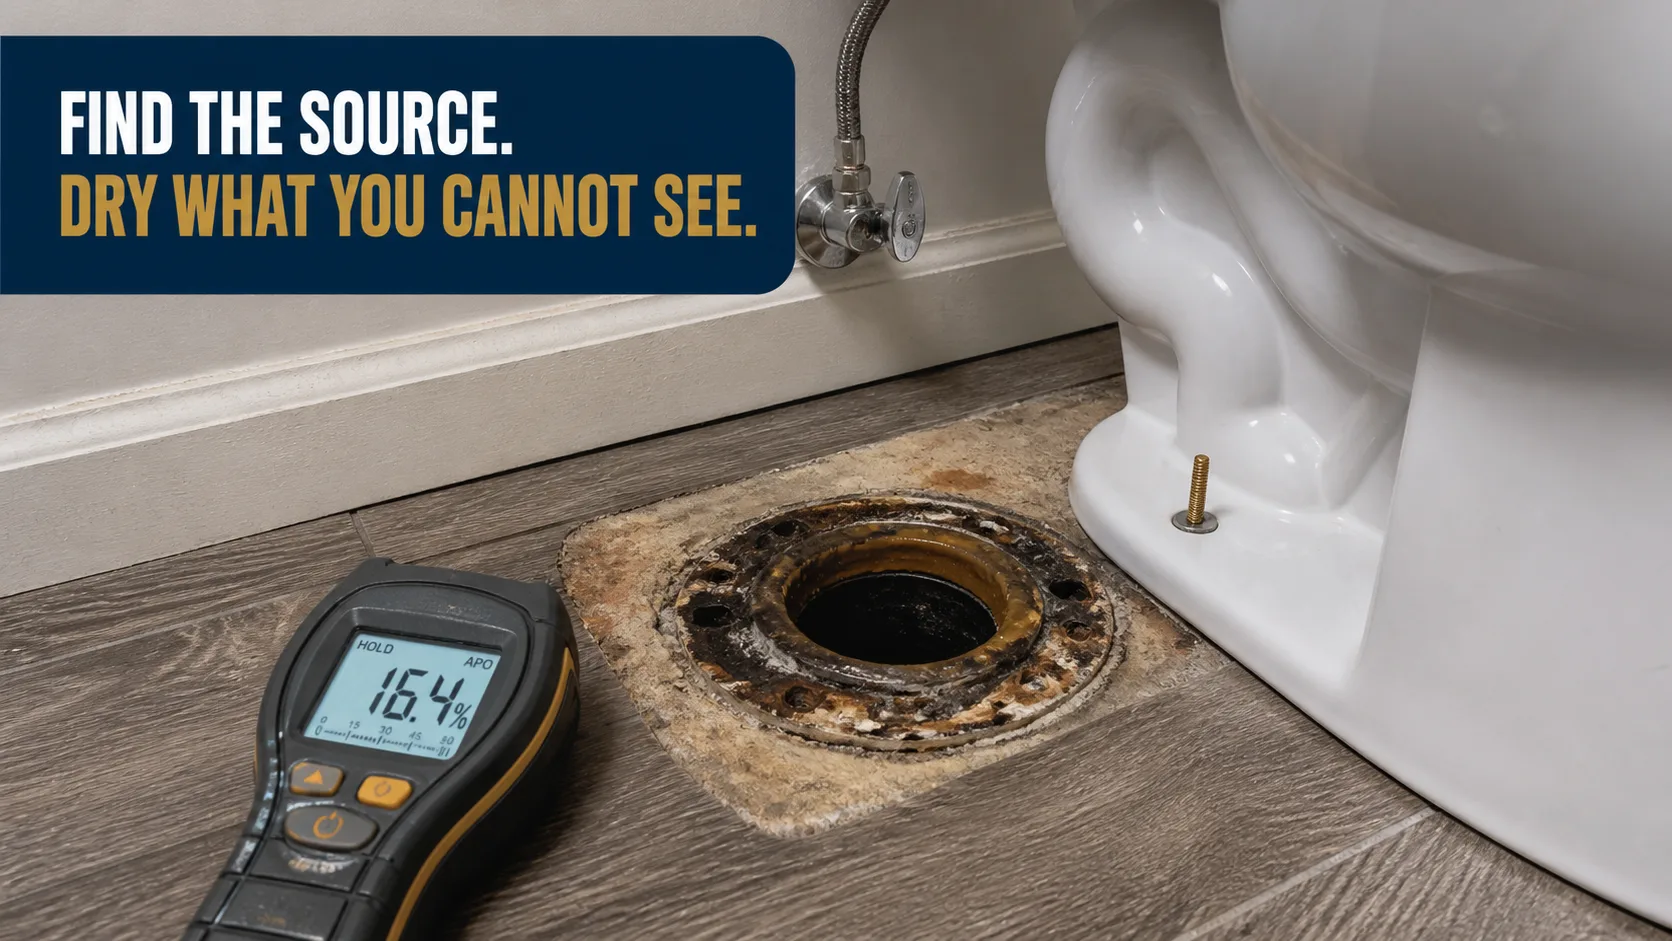
A pulled toilet exposes the one patch of floor you otherwise never see — and after a ring leak, it tells the whole story: subfloor staining rings around the flange, softness underfoot, wax residue tracks showing where water traveled, mold at the flooring cut line.
Meter it before resetting. A dry-standard subfloor means new ring, reset, done. A wet one means the seepage has been running longer than the visible symptoms — and resetting a toilet over a wet, contaminated subfloor seals the problem under fresh caulk. In our humidity, that cavity will not self-resolve; it will compound. Photo of what you find to (346) 271-7004 and we will tell you honestly if it needs drying or just a new ring.
What NOT to do
- Don’t caulk around a leaking base to “seal it.” Caulk traps the per-flush seepage under the toilet where it can only go down. (Caulking a healthy reset toilet is fine — many codes want it, ideally with a small gap at the back as a telltale.)
- Don’t double-stack wax rings to bridge a too-low flange; use an extender kit or a taller-profile ring — stacked wax is a future leak.
- Don’t ignore the rock. A new ring under a still-rocking toilet has the lifespan of the next few hundred flushes.
What does a wax ring leak cost to put right?
Two numbers, and the gap between them is the point of this page.
The reset is predictable: a plumber’s visit with a new ring and bolts runs roughly $150 to $300 here, and a DIY reset is $15 to $40 in parts. A broken flange adds a repair kit or a full flange replacement.
The floor is where the number moves, and what moves it is time:
- Caught early, subfloor sound. Dry the flooring and the wall base — a few days of equipment.
- Wet subfloor, still firm. Drying with the toilet out and the flooring open, plus antimicrobial treatment, because this is contaminated water.
- Softened or rotted subfloor. A section is cut out and replaced — several hundred to a few thousand once carpentry and new flooring are in it.
- Water through the ceiling below. Add the cavity, insulation that is bagged rather than dried, and ceiling material that comes down.
Category drives that list in a way it does not on a supply leak. Flush water that passed the seal is Category 3, so porous material that absorbed it comes out even when it is still structurally sound — you cannot disinfect a wet particleboard deck back to safe.
How long does the drying take?
The reset itself is under two hours. A wet subfloor adds three to five days with the toilet out and the flooring open, and longer when water reached the bottom plate or came through a ceiling.
Readings decide the end, not the calendar. The subfloor and the framing get metered against dry material of the same type elsewhere in the house, logged daily, and only then does the new ring go in. Drying timelines are set by depth and access — and the mistake that doubles every one of them is setting the toilet back first and finding the wet subfloor at the next failure.
Does insurance cover a wax ring leak?
Usually a fight, and it is worth knowing why before you call. The ring is maintenance, and per-flush seepage over months is the definition of gradual — the standard basis for a denied water damage claim.
Resulting-damage claims live on the discovery file: the date you first noticed it, photos of the base before anything was touched, photos of the exposed flange and subfloor once the toilet was up, the plumber’s invoice describing what failed, and dated moisture readings from the same week.
Prevention
- Fix rocking toilets the week they start — snug the bolts, shim the base. This single habit prevents most ring failures.
- After new bathroom flooring, verify the flange height was corrected — flanges buried below the new floor level are a wax ring’s worst enemy
- Sewer smell with no visible leak is still a ring warning: gas passes before water does
- Add a base-check (rock test + look) to your twice-yearly walkthrough
Where the plumber ends and we begin
TruePoint Restoration is not a plumbing company. We do not pull and reset toilets, replace flanges, or set wax rings, and we are not the contractor who lays new flooring afterwards. Call a plumber for the fixture — drying a subfloor under a toilet that still leaks accomplishes nothing.
What we do is what the seepage left: metering the subfloor and the wall base while the toilet is up, cleaning contaminated material to a standard a disinfectant wipe cannot reach, removing porous material that absorbed sewage, drying with commercial equipment and logged daily readings, and handing you a documented file your adjuster can work from.
Send a photo of the exposed flange and subfloor to (346) 271-7004 before the toilet goes back on. We serve Pearland, Manvel, Friendswood, League City and the Greater Houston area.