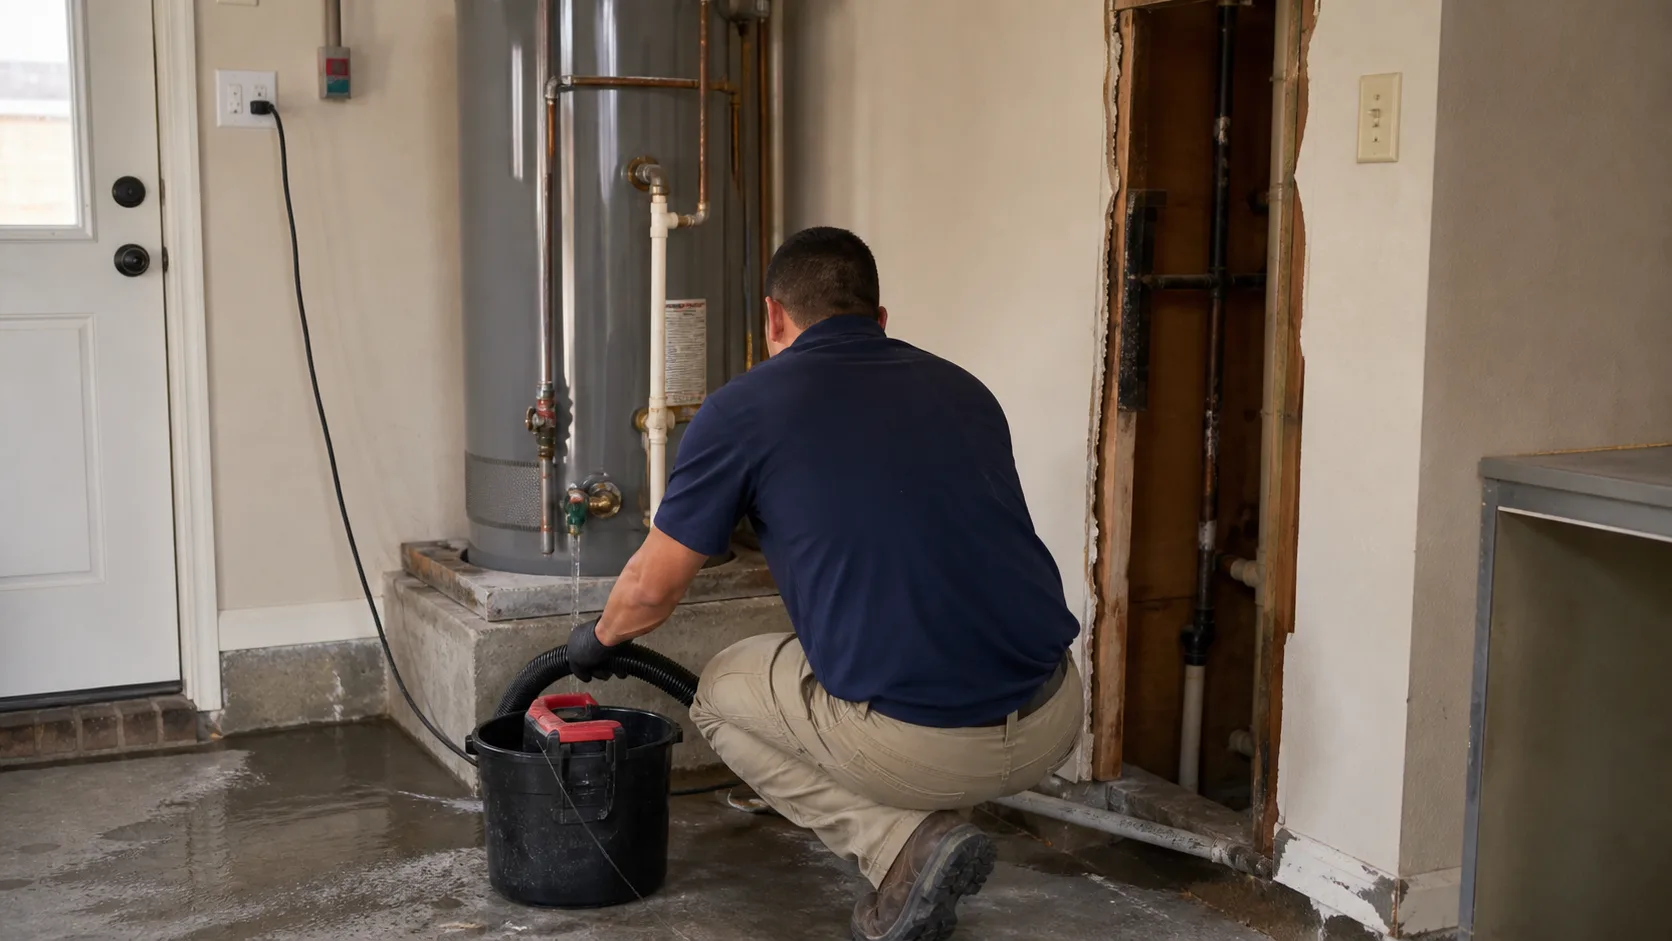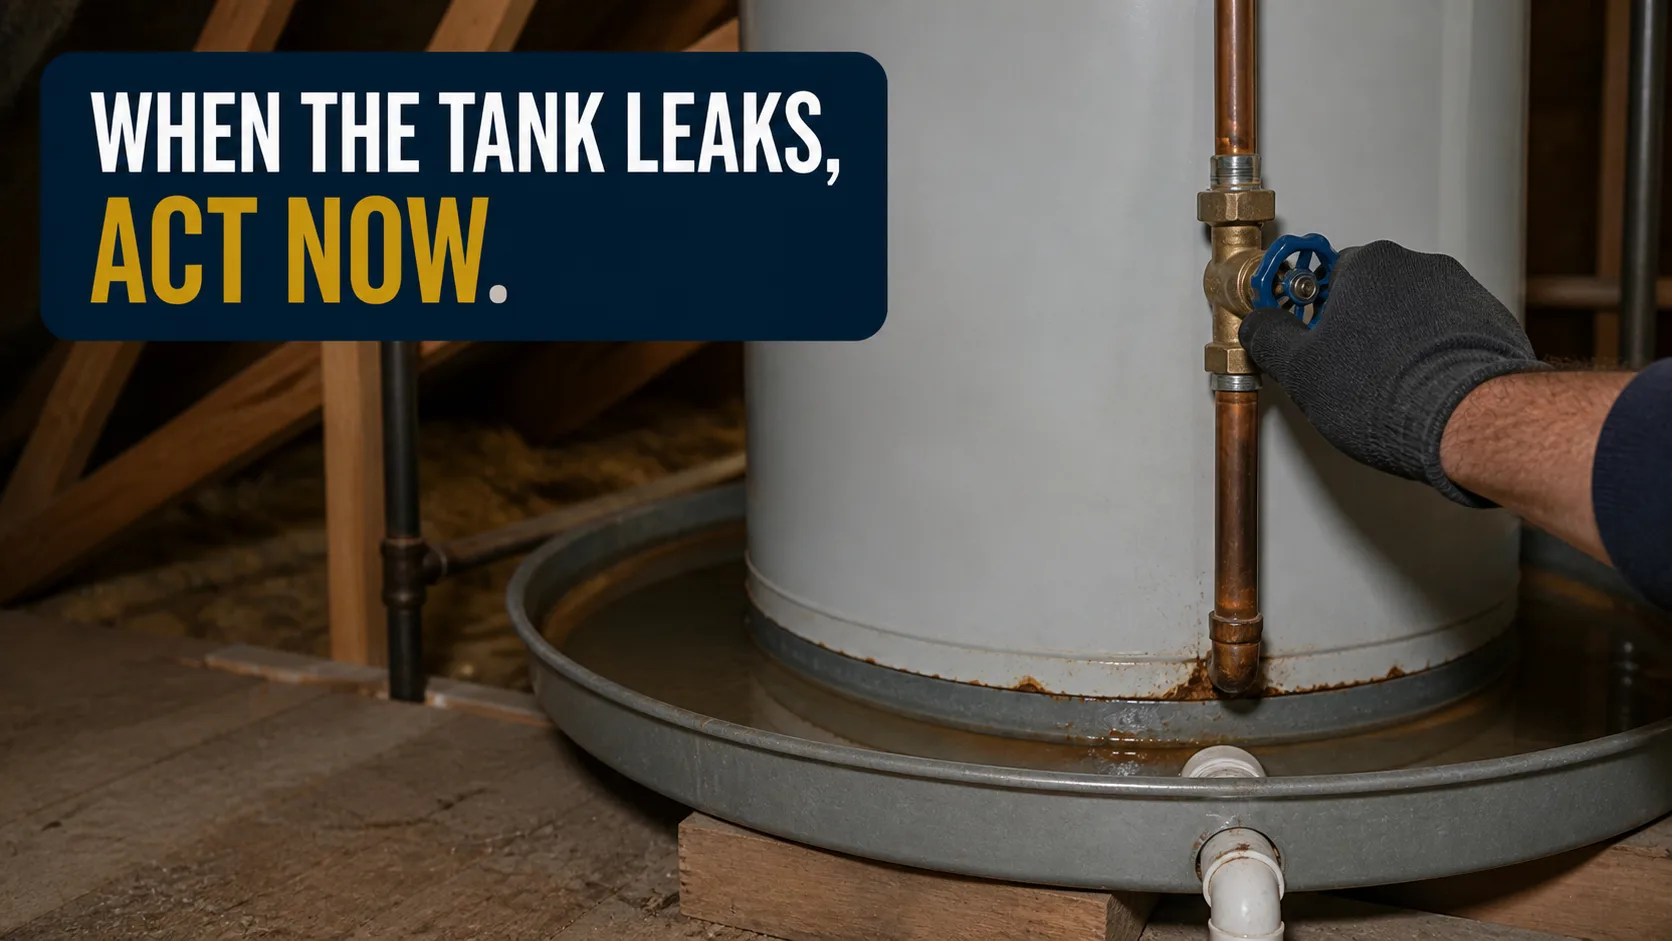
Close the cold-water inlet valve on top of the tank, then cut the power (breaker) or gas (control knob to OFF). If the leak comes from the tank body — especially the bottom — the tank has corroded through and must be replaced, not repaired. Get standing water extracted and wet materials dried the same day, and photograph the tank's data plate: the manufacture date matters for both insurance and warranty.
Why tanks fail
A tank water heater is a steel cylinder that spends its whole life full of hot, mineral-laden water. It survives as long as its glass lining and sacrificial anode rod hold out. Houston’s hard water eats anode rods fast, and almost nobody replaces them. Once the anode is gone, the water starts on the steel — from the inside, where you cannot see it.
That is why the classic failure is a leak from the bottom of the tank: rust-through at the base, where sediment sits. By the time water shows outside, the corrosion is years deep.
The Houston complication: tanks in the attic
Many Houston-area homes place the water heater in the attic. That means:
- 40–50 gallons of stored water above your bedroom ceiling
- A pressurized supply line ready to feed the leak continuously
- A drain pan under the unit that was designed for drips, not failures
- A failure you will not see start — only the ceiling stain that announces it
If your water heater is in the attic and you have never looked at it, this weekend is a good time. Check the pan for water, rust rings, or corrosion at the fittings.
The first signs
- Water in or around the drain pan
- Rust streaks down the tank body or at the bottom seam
- Damp flooring, or ceiling staining below an attic unit
- Popping/rumbling from the tank (sediment buildup — a precursor)
- Hot water that turns rusty or runs out faster than it used to
What to do right now
- Close the cold inlet valve — the handle on the pipe entering the top of the tank. No valve or a seized valve? Shut off the house main.
- Kill the energy. Electric: breaker off. Gas: control knob to OFF. A heating element firing in an emptying tank destroys itself and can be dangerous.
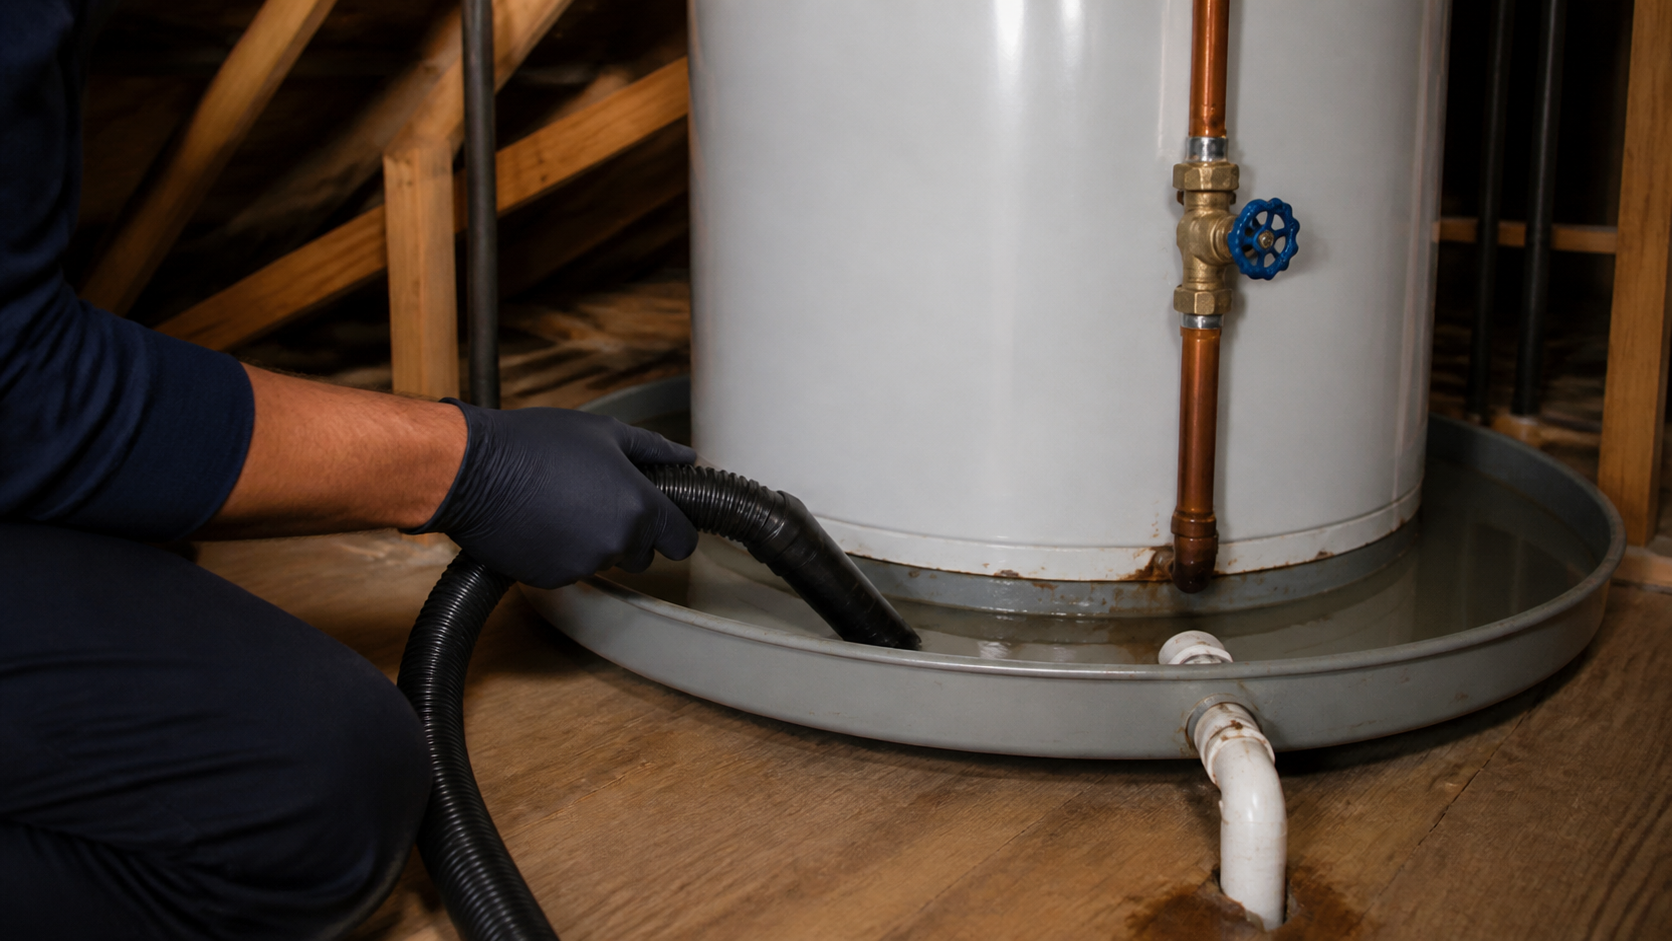
- Contain and extract. Towels and a wet/dry vac for small volumes. For an attic unit, check the ceilings below and get eyes on the pan.
- Photograph the data plate on the tank’s side: brand, model, serial, manufacture date. This single photo can be worth your entire deductible — see below.
- Call a plumber for the tank, and mitigation for the water. Same day. (346) 271-7004 for the drying side.
What NOT to do
- Don’t drain the tank before photographing everything if you plan to file a claim.
- Don’t throw the failed tank away. If it failed within its warranty period, the physical tank is evidence.
- Don’t run “just one more month” on a tank that is weeping. Tank leaks do not stabilize; they grow.
The warranty angle most homeowners miss
Here is something that almost nobody tells homeowners: if your tank failed within its warranty period (commonly 6, 9, or 12 years — it is printed on the data plate or encoded in the serial number), your insurance company can pursue the manufacturer for the loss through subrogation. When that succeeds, you can get your deductible back.
But subrogation only happens when the failed unit, its age, and its warranty status are documented — which is why we photograph data plates as a standard part of every water heater loss. Full explanation: Subrogation, explained.
When to call mitigation vs. just a plumber
- Leak caught same-day, water contained to the pan or a garage slab: plumber for the tank; mitigation likely unnecessary.
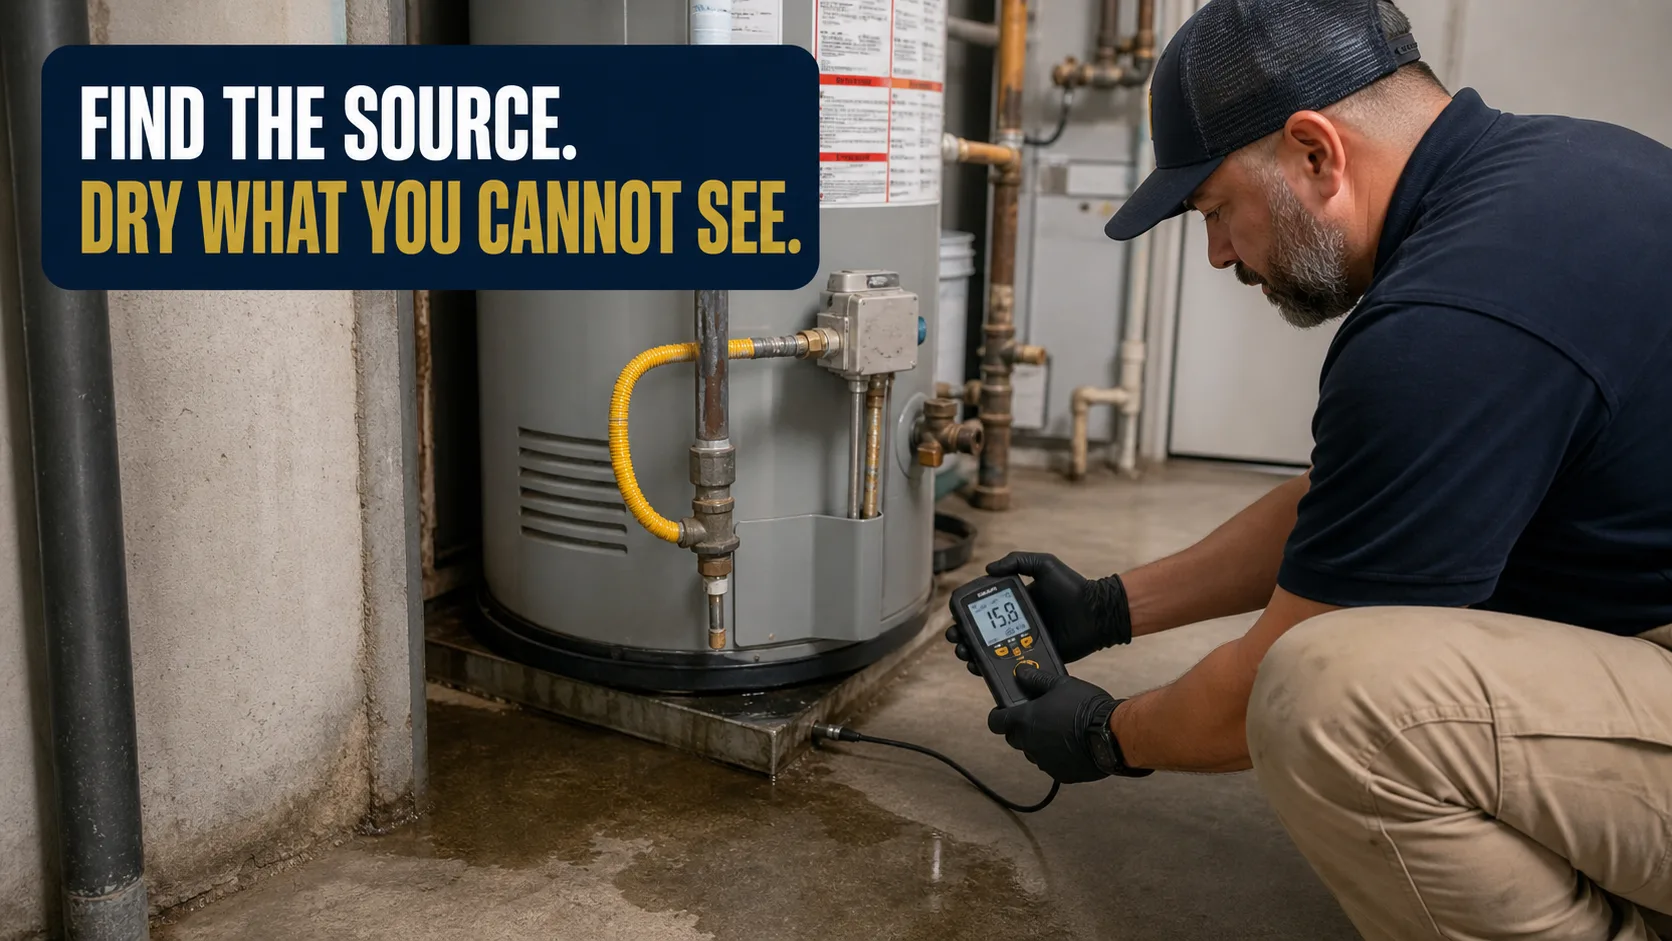
- Water reached flooring, walls, cabinets, or came through a ceiling: both. The plumber replaces the tank; we dry the structure with metered readings and produce the documentation package for your claim.
Check the tank yourself this weekend
Twenty minutes, and it is the difference between replacing a tank on a Tuesday and replacing a ceiling on a Sunday.
- Go up early if it is in the attic. A Houston attic passes 130 degrees by afternoon. Tell somebody you are going, take a light and your phone, and walk only on decking or on the joists.
- Read the data plate and work out the manufacture date. Past eight years in an attic you are on borrowed time; past ten anywhere, plan the replacement.
- Look in the drain pan. Water, a rust ring, or a dried mineral tide line all count.
- Pour a cup of water into the pan and confirm it comes out the drain line’s far end. A blocked pan drain is a shallow reservoir directly over your ceiling.
- Run a dry finger around the base seam and both fittings on top, then look for rust streaks down the tank body.
- Photograph the data plate, the pan, and the tank body with the date stamp on. That one set of photos covers your warranty position and your discovery date at once.
What does a water heater failure cost?
Two numbers from two trades, and the second is the one nobody budgets for.
The replacement is predictable. A standard 40 or 50 gallon tank swapped in an accessible spot commonly runs $1,500 to $2,800 installed. An attic installation costs more, because access is harder and code usually means adding or upgrading the pan, the drain, and an expansion tank.
The water damage is separate, and it is set by geography more than by gallons:
- Garage slab, caught early. Extraction and a couple of days of equipment, or nothing at all.
- First floor, water into flooring and wall bases. Removals plus several days of drying.
- Attic, through the ceiling. Wet blown-in insulation bagged and replaced rather than dried, ceiling material opened, and the wall cavities below in scope. The insulation line usually beats the drywall line.
- Two floors involved. Both ceilings, both sets of wall cavities, and flooring on both levels.
Nothing in the replacement number covers any of that, which is why a failed attic tank is one of the few household failures where the appliance is the cheap half.
How long does the drying take?
Three to five days for a clean-water loss with equipment on site the same day. Ceiling cavities and wet insulation add time, because the material is opened and the insulation removed rather than dried. Hardwood flooring, cabinets, and water that reached two floors push it past a week.
Readings decide the end date, not the calendar. Framing, top plates, subfloor and drywall are each metered against unaffected material of the same type and logged daily — what sets a drying timeline is what got wet and how deeply, not how many gallons the tank held.
Does insurance cover it?
The sudden damage — soaked flooring, ceilings, drywall, insulation, contents — is typically covered. The water heater itself usually is not, because the appliance is a maintenance item.
The argument that costs people money is gradual damage — a tank that visibly rusted and seeped for months can be challenged, which is the standard basis for a denied water damage claim. Report it the day you find it, photograph before anything is drained, and keep the failed tank until the claim settles.
Prevention
Tanks announce their age if you check: manufacture date on the plate, rust at fittings, sediment rumble. Past 10 years, replace proactively — a scheduled Tuesday-morning replacement costs a fraction of a Saturday-night ceiling collapse. Full guidance: Water heater lifespan and replacement timing.
Where the plumber ends and we begin
TruePoint Restoration is not a plumbing company. We do not replace water heaters, install pans, expansion tanks or drain lines, or touch gas and electrical connections — and we are not the contractor who re-hangs and textures the ceiling. Call a plumber for the tank and call us for the water; the two jobs run at the same time and do not conflict.
What we do is the structure: metering the ceiling, the framing, the wall cavities and the flooring, removing saturated insulation and material that cannot be brought back, drying with logged daily readings, and handing you a documented file — data plate photograph included — that your adjuster can work from.
Text photos of the tank, the pan, and the ceiling below to (346) 271-7004. We serve Pearland, Manvel, Friendswood, League City and the Greater Houston area.