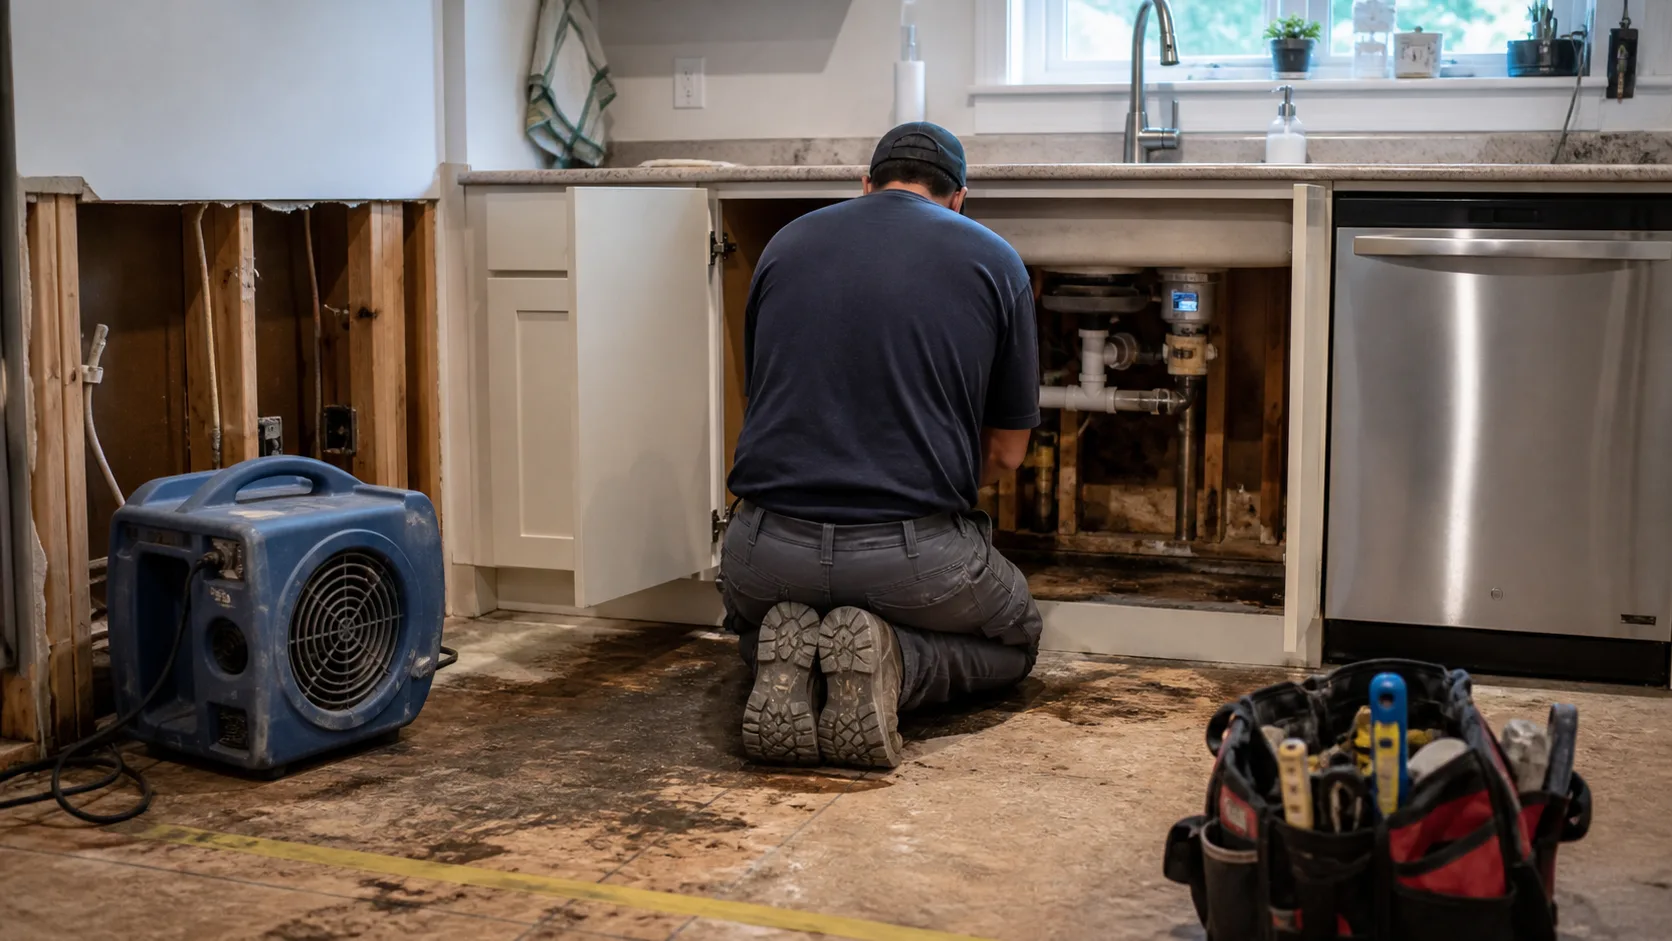
Stop the cycle, close the dishwasher's supply valve under the kitchen sink, and cut its power at the breaker. Then figure out which of the three usual suspects you have — door seal, supply line, or drain hose — because they leak at different times and in different directions. Whatever the source, the water went the same place: under the unit and the adjacent cabinets, where it soaks flooring nobody can see. That zone needs a moisture reading, not a paper towel.

The three ways dishwashers leak
1. The door seal (gasket). Leaks during the wash, at the front, onto the kitchen floor — the most visible and least damaging version, because you see it early. Gaskets harden and crack with age; a $20-40 part.
2. The supply line. The pressurized line from under the sink. Like all supply connectors it can fail at any time, running or not — and it leaks behind the unit where you will not see it. This is the version that runs for weeks.
3. The drain hose. Leaks only during pump-out, behind or under the unit. Loose clamps, cracked corrugation, or a hose rubbed through by vibration. Intermittent, hidden, and easy to misdiagnose as “the dishwasher only leaks sometimes.”
A fourth, less common: the tub or pump seals on aging units — water in the pan under the machine after every cycle.
Warning signs before you see water on the floor
The leak is running behind the unit:
- A musty smell in the kitchen that sharpens when you open the cabinet beside the dishwasher
- The flooring seam in front of the unit darkening, cupping, or lifting
- Toe-kick trim on either side swelling along its bottom edge
The leak runs during only part of the cycle:
- Water at the front of the door mid-wash — the gasket
- A puddle during the loud pump-out minute near the end — the drain hose or its clamp
- Water that appears hours later — a bay that has already filled
The damage is older than the puddle: cabinet doors beside the unit no longer closing flush, a soft spot underfoot, dark spotting on the underside of the neighboring cabinet deck. That is weeks of leaking, not one bad cycle.
What to do right now
- Cancel the cycle and let it pump out if it will.
- Supply valve off — under the sink, on the hot line.
- Power off — breaker, or unplug under the sink. Water and the unit’s electronics share a small space.
- Pull the toe-kick plate (two screws) and look under the unit with a flashlight. Standing water in the pan area tells you this has been happening a while.
- Photograph everything as found.
- Check the neighbors: cabinet floors on both sides, the flooring seam in front, the wall behind (from the basement or adjacent room if accessible).
Where the water goes
The dishwasher sits in a cabinet bay directly on the subfloor — usually with flooring running under it. Every leak in this appliance drains into that bay:
- Sideways into the toe-kick spaces and cabinet floors on either side
- Down into the subfloor, which in a slab-on-grade Houston home means water spreading along the slab under the flooring, and in a pier-and-beam home means wet joists
- Forward under the kitchen flooring, showing up later as dark seams, cupped boards, or lifting vinyl a foot or two out from the unit
Gray water plus a dark enclosed space plus Gulf Coast humidity is a mold recipe on a 24-48 hour clock. If the leak ran more than one cycle, or you found standing water under the unit, get it metered: (346) 271-7004 — a photo text gets you a straight answer on whether it needs us at all.
How to tell which leak you have tonight
A flashlight, a screwdriver, and paper towels. Ten minutes.
- Dry the floor and the bay. Towel the front, pull the toe-kick plate — two screws — and dry underneath as far as your hand reaches.
- Lay paper towels at the front and into the bay.
- Wait an hour with the machine off. Wet paper with the dishwasher idle means the supply line, which is pressurized around the clock. Close the valve under the sink now.
- Run a short cycle and watch the door. Water at the front lip mid-wash is the gasket.
- Watch again at the pump-out. Water only then is the drain hose or a loose clamp.
- Touch both neighboring cabinet decks into the back corners. Wet corners mean water has been leaving the bay for a while.
- Photograph it all with the date stamp on, the open toe-kick space and the model plate inside the door included.
Fix or replace?
- Under ~7 years + simple part (gasket, hose, clamp, float): repair. Parts are cheap; access is the labor.
- Past 7-8 years + major component (pump, motor, tub): put the repair money toward a new unit.
- Either way, when the unit is out of the bay: this is your one chance to inspect and dry the bay properly, upgrade the supply to braided stainless, and add a leak pan with a moisture alarm. Do not let an installer slide a new unit over a wet subfloor — we get called about that one a year later, every time.
What does a dishwasher leak cost to put right?
Two invoices, and the appliance is the smaller one. Nobody prices the second from a phone call — what is honest is naming the variables.
- How many cycles ran wet. A dishwasher moves 4 to 6 gallons a run, all of it into the same enclosed bay.
- Whether the cabinet deck comes out. Swollen particleboard does not dry back to flat, and pulling it is the only honest way to read the subfloor.
- Flooring type. Vinyl plank and laminate trap water against the subfloor under their underlayment, so the wet zone meters wider than the stain and the floor usually has to come up.
- Whether growth started. Gray water in a dark, warm, closed bay for weeks is a remediation, not a dry-out.
Caught within a cycle or two, with the unit pulled and the bay dried, this commonly lands in the high hundreds. Once the deck and a section of subfloor come out and the kitchen flooring is involved, it moves into the low thousands. The pricing structure is in what mitigation costs in Houston.
How long does the drying take?
Three to five days, once the unit is out and the toe-kick is open, with an air mover pushing into the cavity and a dehumidifier running in the kitchen. The deck and the subfloor beneath it are the slow materials — particleboard holds water in its core long after the face feels dry.
Readings decide the end date, not the calendar. Deck, subfloor and wall bottom all have to hit dry standard before anything closes back up, and which material dries in place and which gets cut out is a meter decision rather than a visual one.
Insurance notes
Sudden failure, covered; slow drip you painted around, disputed. Dishwasher-specific advice:
- Keep the failed hose/part — warranty-period failures can get your deductible back via subrogation
- Photograph the bay at discovery, before cleanup
- If flooring is involved, insist the estimate address the flooring under the unit and inside cabinet toe-kicks — the two spots that get missed and grow mold behind the repair
Prevention
- Replace the door gasket at the first sign of hardening or a drip line at the front
- Braided stainless supply line, checked at the twice-yearly walkthrough
- Snug the drain hose clamp annually — vibration loosens it
- A $15 water alarm in the toe-kick space turns a three-week leak into a three-hour one
The free things worth doing tonight
- Stop running the dishwasher. Wash by hand until the leak point is found.
- Close the supply valve under the sink and cut power at the breaker.
- Pull the toe-kick plate and look under the machine with a flashlight.
- Empty both neighboring cabinets and leave the doors open.
- Photograph everything with the date stamp on, then write down the date and time you found it. Slow appliance leaks get argued as gradual damage, and a dated photo set is what fixes the timeline in your favor.
- Do not put anything back on a damp cabinet floor, and do not slide a new unit over a wet subfloor.
Where the appliance tech ends and we begin
TruePoint Restoration is not an appliance repair company and not a plumbing company. We do not replace gaskets, swap pumps, or re-run supply lines, and we say that on the phone rather than after the estimate. The gasket and the tub belong to an appliance tech; the supply valve and the drain connections belong to a plumber, the same way the plumber and the mitigation company split a pipe loss.
What we do is the part neither of them touches — metering the bay, both cabinet decks, the subfloor and the wall bottom, removing what cannot be dried, running commercial equipment with logged daily readings, and handing you a documented file your adjuster can work from.
Send photos to (346) 271-7004 and we will tell you whether that bay needs equipment or a fan and patience. We serve Pearland, Manvel, Friendswood, League City and the Greater Houston area.