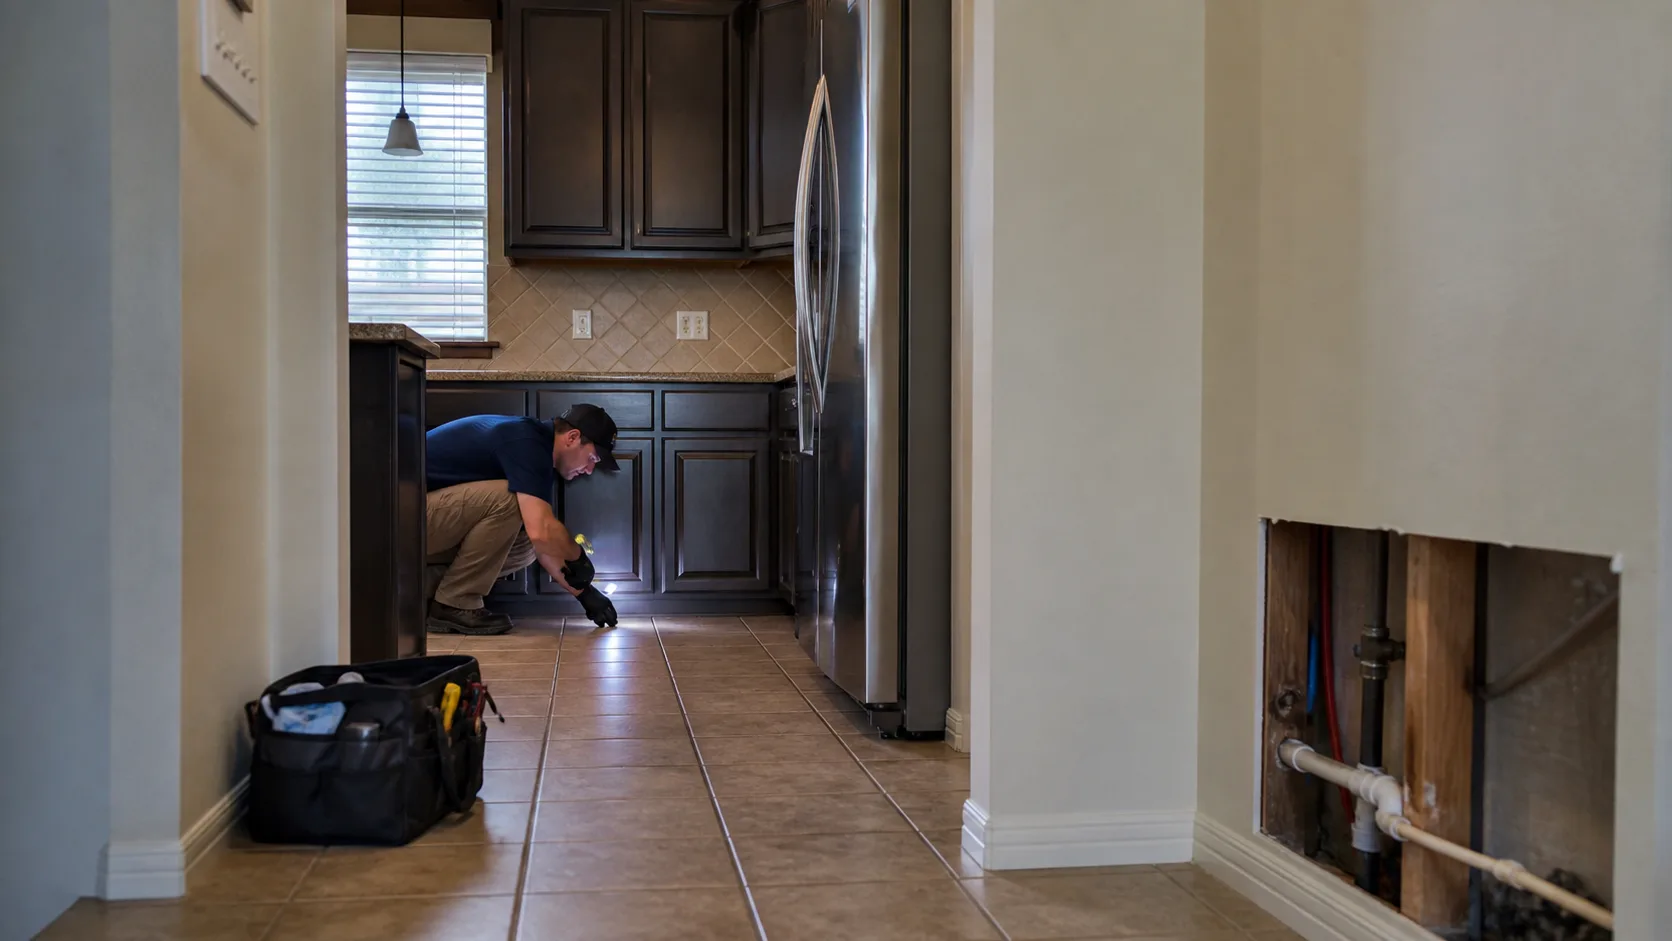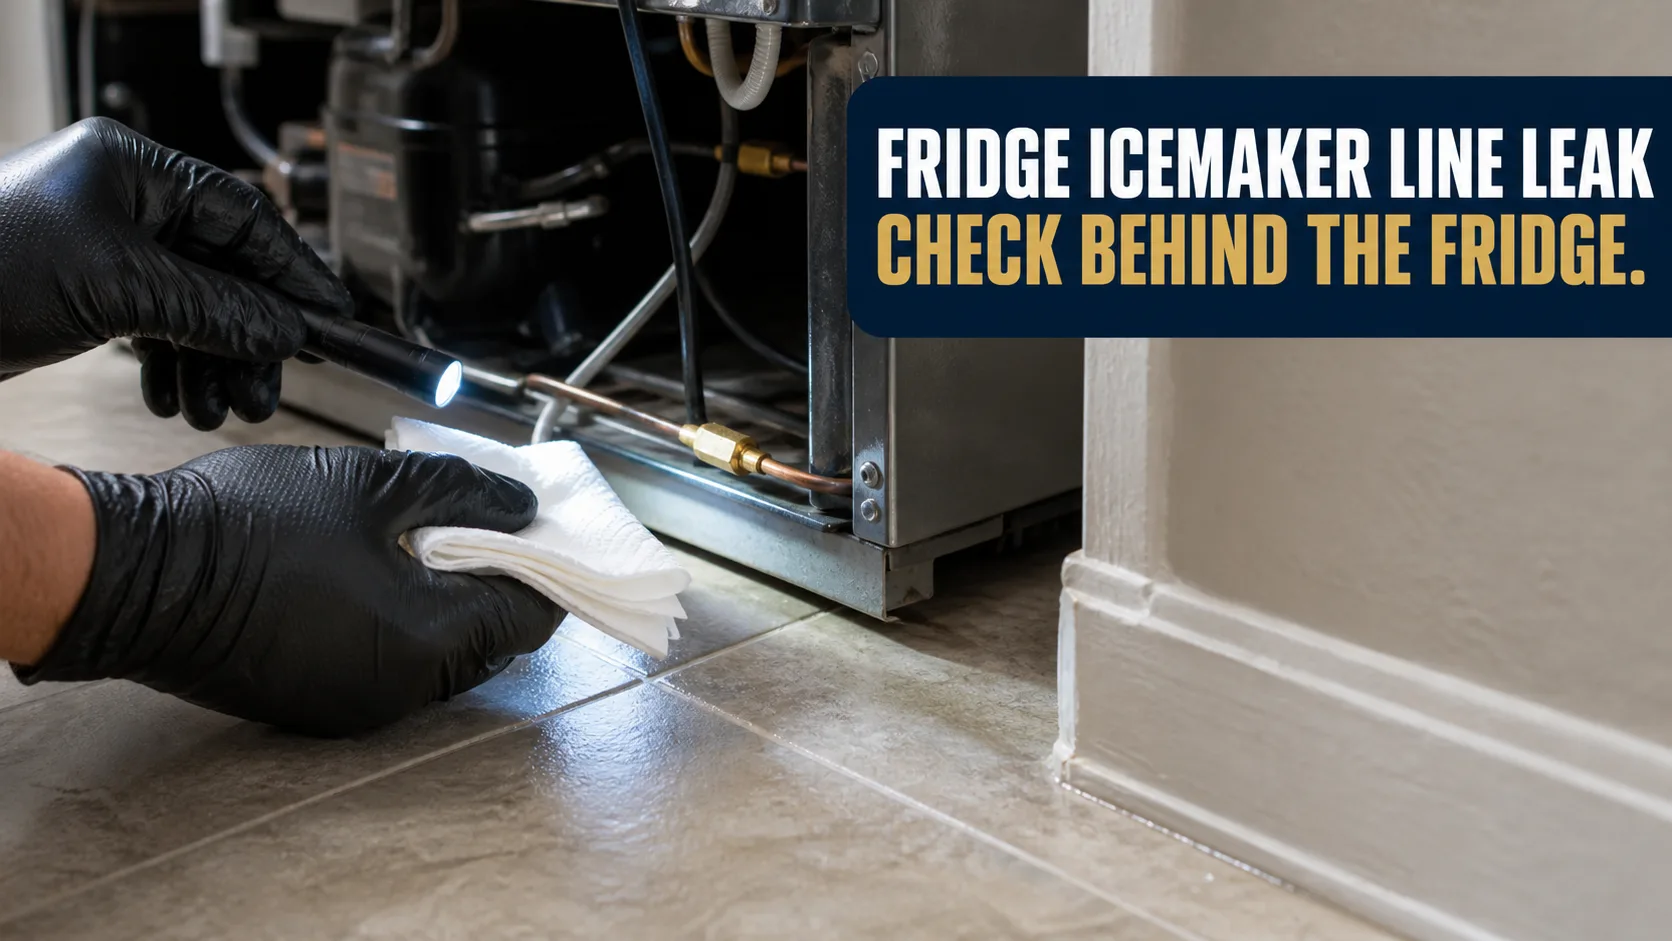
Pull the fridge out (walk it, don't drag it), close its water valve — under the sink, behind the unit, or at the main — and look at what the floor underneath has been hiding. Icemaker lines leak slowly and invisibly, so by discovery the flooring and often the subfloor have been wet for weeks. Photograph everything the moment the fridge is out, note today as the discovery date, and get a moisture reading before deciding anything is "not that bad."
Why this leak goes unnoticed for months
Every leak on this site announces itself somehow. This one doesn’t. The icemaker line is a quarter-inch tube running from a valve, through or behind cabinets, to the back of the refrigerator — all of it hidden, all of it pressurized around the clock.
When a fitting weeps or the aging plastic cracks, the water goes under the refrigerator: the one patch of floor in the house nobody sees, in the dark, with a warm compressor above keeping the space cozy. In Houston humidity, that spot never dries. It just soaks — flooring, then subfloor, then the cabinet toe-kicks on either side.
The typical discovery is not water. It is the floor: laminate seams turning dark, boards cupping near the fridge, tile grout darkening — or a musty smell that nobody can place.
The first signs
- Flooring near the fridge warping, cupping, discoloring at the seams
- Musty smell in the kitchen with no visible source
- Water appearing from under the fridge when you step near it
- Icemaker performance changes — hollow cubes, slow fill (pressure loss at the leak)
- Baseboard or toe-kick swelling in adjacent cabinets
What each sign tells you about how long it ran
Days: a damp patch you can see the edge of with the flooring still flat around it, water appearing at the front of the fridge when you step near it, or icemaker output falling off as pressure is lost at the leak.
Weeks:
- Flooring seams next to the unit darkening, boards beginning to cup at their long edges
- Toe-kicks on the adjacent cabinets swelling along the bottom
- A musty smell nobody can place — a smell like that is a moisture finding before it is anything else
Months:
- Flooring failing well out into the room, sometimes into the next one, because water tracked along the underlayment
- A soft, spongy patch of subfloor underfoot once the unit is rolled out
- Dark growth on the subfloor or the back of the cabinet sides
That last group is the common one, and it is why the standard finding on this loss is not a wet spot. It is a rotted patch of subfloor.
What to do right now
- Walk the fridge out carefully — tipping or dragging it on a wet, weakened floor makes it worse.
- Close the water line valve (under sink / behind fridge / at the main).
- Photograph the reveal — the floor under the unit, the line and fitting, any visible growth or staining, before anything is cleaned or dried.
- Write down today’s date as the discovery date. For a slow leak, this date is claim-critical (see below).
- Do not run fans and call it handled. The water is in and under the flooring; surface air does not reach it.
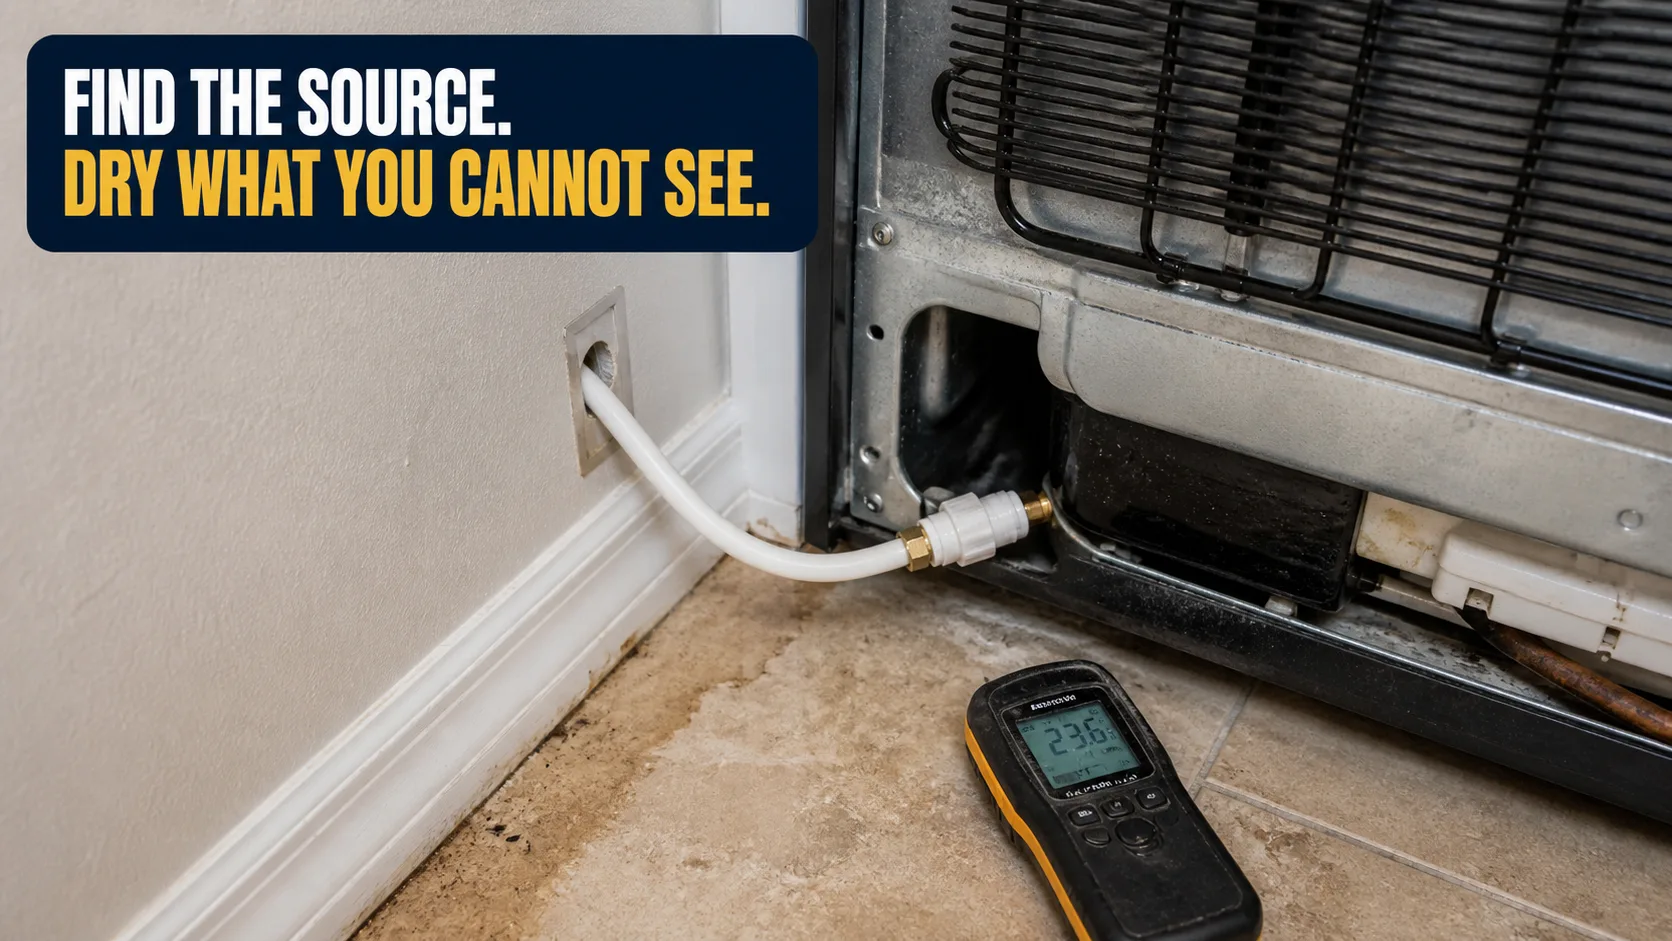
- Get it metered. Slow leaks always read wetter and wider than they look. Text photos to (346) 271-7004 for an honest read on whether it needs professional drying.
How to confirm it is the line and not something else
Four things leak onto the same patch of floor. Fifteen minutes tells them apart.
- Dry the floor under and behind the unit completely, then lay paper towels across it.
- Close the icemaker valve and leave it two hours. Paper still dry with the valve shut and the fridge running points at the line or its fitting. Paper wet with the valve shut points somewhere else.
- Look at the drip pan under the compressor. An overflowing pan or a blocked defrost drain wets the same floor, and neither one is a plumbing problem.
- Run a dry hand along the tubing from the valve to the fitting, especially where it passes a cabinet edge or where the fridge has been pushed back against it.
- Check the wall behind and the cabinet beside at their lowest inch. Water arriving there from a supply line inside the wall is a different trade entirely — the leak you cannot see.
- Photograph what you found with the date stamp on, the valve, the fitting and the floor included.
What the damage usually looks like by discovery
The pattern is consistent: the visible stain is the center of a much larger wet zone. Water tracked along the flooring underlayment reaches the dining room. The subfloor reads saturated a foot in every direction beyond the discoloration. The cabinet sides wick moisture up from the toe-kick space. And in a meaningful share of cases, there is mold on the subfloor — because the leak had months of head start.
This is not written to alarm you. It is written so you don’t stop at the first dry-looking edge and re-floor over a wet subfloor — which is the single most common mistake with this loss, and it means doing the whole job twice.
What does it cost once the floor is involved?
The line itself is $15 to $40 and fifteen minutes. The floor sets the bill, and these are the variables.
- How long it ran before discovery. This one dominates everything below it.
- How far the water tracked. Vinyl plank and laminate sit on an underlayment that carries water sideways, so the wet zone routinely meters several feet past the last visible stain.
- Whether the flooring comes up. Water trapped between a floating floor and the subfloor cannot be reached by blowing air across the top of it.
- Whether the subfloor comes out. Sheet subfloor that took months of drip reads wet in its core long after it looks fine, and that removal call is made with a meter.
- Whether the flooring product still exists. No matching material in production turns a patch into a whole-room replacement, and that is the number that surprises people.
Drying a small wet zone caught early runs in the high hundreds. Replacing flooring plus a section of subfloor commonly runs into the low thousands, further when the whole room goes. The pricing structure is in what mitigation costs in Houston.
How long does the drying take?
Three to five days for flooring and subfloor that got wet recently, once the fridge is out and the wet material is exposed. Longer when the leak ran for months and the wet zone extends under cabinets, longer again when a floating floor has to come up.
Readings decide the end date, not the calendar. The subfloor is metered against an unaffected part of the same floor and has to hit dry standard before anything new goes down over it. If a flooring contractor says it looks fine without measuring it, get the measurement anyway — new flooring laid over a wet subfloor seals the moisture in with nowhere to go. More: what sets a drying timeline.
The insurance reality for slow leaks
Icemaker leaks live on the fault line of every homeowners policy: sudden and accidental is covered; gradual is not. The insurer’s question will be: how long was this leaking?
What helps your claim:
- A clear discovery date with photos from that day
- Evidence you acted immediately once discovered (mitigation records, receipts)
- A professional moisture map documenting the extent at discovery
- No signs you knew earlier and waited (that musty smell you mentioned to a neighbor in March does not help in July)
What we document on these jobs — line condition, fitting failure mode, moisture extents, material readings — exists precisely to establish the loss as found-and-acted-on. More: Does insurance cover water damage?
The free things worth doing tonight
- Walk the fridge out — walk it, do not drag it, because dragging on a weakened floor makes the damage worse.
- Close the water line valve at the sink, behind the unit, or at the main.
- Photograph the reveal with the date stamp on before anything is cleaned — the floor under the unit, the failed fitting, any growth.
- Bag the failed fitting or cracked tubing and keep it.
- Press the floor with a knuckle in a grid out to a few feet in every direction. Soft is wet.
- Pull the toe-kick on the cabinets either side and reach in with a dry hand.
- Write down today’s date as the discovery date. On a slow leak that date is the whole claim, and establishing it is free.
Prevention
- Upgrade to a braided stainless line — the cheap plastic tube is the weakest point in the whole system
- Check the fitting twice a year when you do the 15-minute walkthrough
- Close the valve before long trips
- Rolling the fridge out to clean? Inspect the line before pushing it back — crushed against its own tubing is a classic failure setup
- Not using the icemaker at all? Close the valve for good and sleep better
Where the plumber ends and we begin
TruePoint Restoration is not a plumbing company and not a flooring contractor. We do not run new icemaker lines, replace fittings, or lay your replacement floor, and we say that on the phone rather than after the estimate. The quarter-inch line belongs to a plumber or an appliance tech; the room going back together belongs to a flooring contractor — the trades split the same way on any water loss.
Our part is the middle: metering the flooring, subfloor and cabinet bases to find the real edge of the wet zone rather than the visible one, lifting what has to come up, removing material that cannot be dried, running commercial equipment with logged daily readings until the subfloor meters at dry standard, and handing you a documented file your adjuster can work from.
Roll the fridge out, photograph what is under it, and send the photos to (346) 271-7004. We serve Pearland, Manvel, Friendswood, League City and the Greater Houston area.